Art aspires to extract sentiment, imagination, and pigments in Nature to reflect essential ideas and representations. Science aspires to extract alternative more objective rules about regularities in Nature. Our research is focusing on the many overlaps between art and science, and of interest here, natural dyes and chaos. Viewed from the standpoint of physics and complex systems, intricate patterns occupy an area someplace between repetitive fixed patterns, and chaos – if something is either too fixed, or alternatively too chaotic (Science), it can often be less inviting or stimulating to the viewer (Art). This area is sometimes termed “the edge of chaos”.
These ideas about pattern at the edge of chaos are illustrated, we believe, by the Japanese art of shibori with natural dyes, especially indigo due to its strong contrast and elegant hues. In this article, we will first describe the process for making artistic patterns with shibori. We will then describe in more detail just what is meant by “the edge of chaos”. We will then suggest that shibori, particularly with indigo, frequently exemplifies these ideas.

Indigo shibori
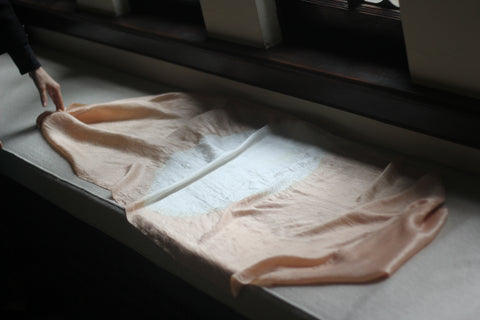
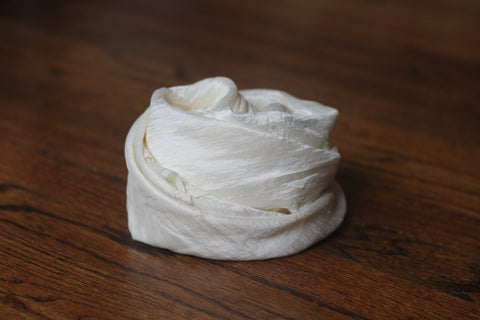
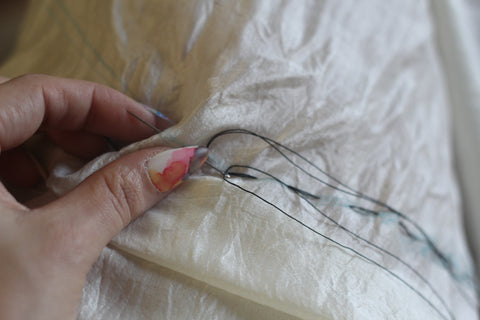
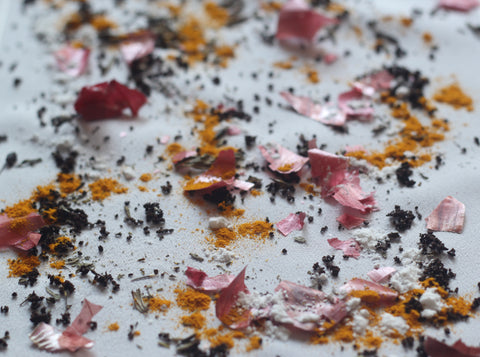
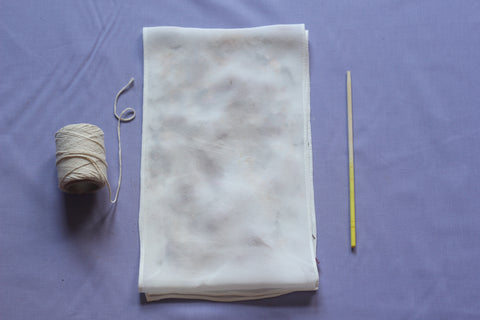
Shibori is a Japanese resist technique used in textiles, an artful and ancient form of dyeing. Different types of shibori result in different patterns. Four traditional categories of shibori are Kanoko (binding), Nui (stitching), Kumo (folding), and Arashi (wrapping). While one can predict to a certain degree what the final shapes will look like, it is impossible to reproduce two pieces of fabric exactly the same.

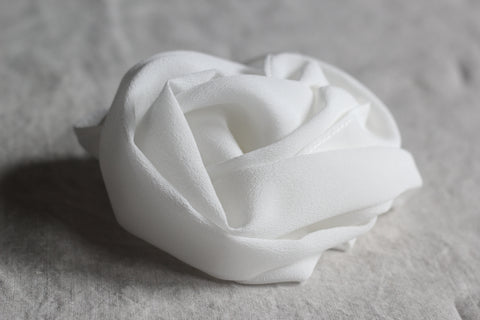
Kanoko shibori
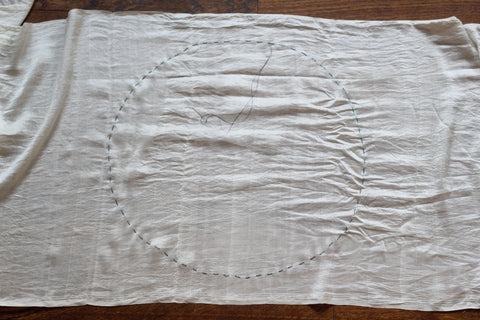
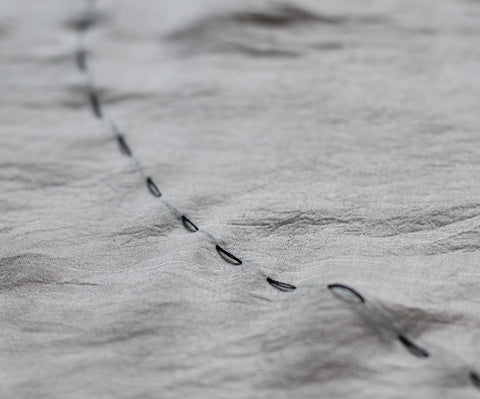
Nui shibori

Kumo shibori

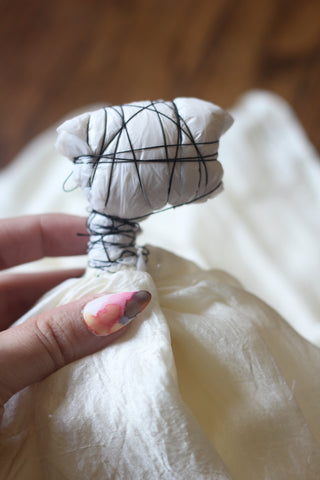
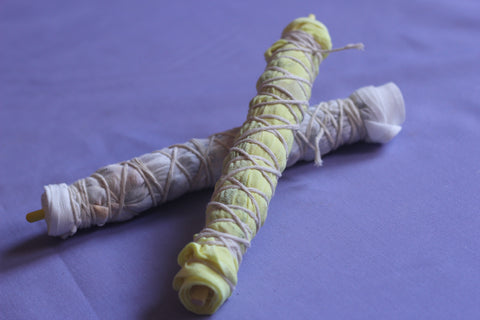
Arashi shibori
Shibori allows for a certain amount of refinement of pattern, but there will always be some asymmetry, and a strong element of wabi sabi -the acceptance of transience and imperfection. The impermanence of shibori is particularly notable when working with indigo, one of the most exquisite and unusual dyes within the natural dye world.
So what do we mean when we talk about shibori existing on the “edge of chaos”? Chaos as an idea has been part of science since the earliest Greek philosophers, although the mathematical descriptions are more recent, coming from careful analysis of solutions to non-linear equations in the late 19th century and came of special interest once computers were available for plotting those solutions. One particularly influential description of chaos is exemplified by Cellular Automata (CA) that comes from computer science, and can be understood without a strong mathematical background.
Imagine a line of square cells at one Time, which we are calling t. Each cell can be in either one of two states- white or black, as shown here:

At the next time step, t + 1, each cell might stay the same, or it might change states, depending on: it’s current state, the states of its immediate neighbors, and a defined set of rules. Many sets of rules that govern transitions can be imagined; one possible set of rules is shown graphically in the figure below.

The rules for transitions are as follow: (8) If the current state is white, and the immediate neighbors are also white, then it stays white at the next time step; (4) if the current state is white and the neighbor to the left is black while the neighbor to the right is white, then it turns black at the next time step. And so on. There are 8 such transition rules in our example, shown in the figure, with the target square flanked by its two neighbors at time t, then the target square just below at time t+1.
We can apply the rules in this example to an array that starts with just one black cell at time 0- shown in the top line. This black cell has both neighbors as white, so will transition to time 1 according to rule 6, and thus remains black. The immediate neighbors of this cell will transition according to rules 4 or 7, and thus also turn black. The other cells in the array are all white with white neighbors to either side, so they will remain white at the next time step (rule 8). As we go to time 2, there are now areas of white, then 3 black cells, then white. For this next time step rules, 1,2, and 5 will also be invoked, so with further time steps the Christmas-tree like structure of figure 9 will unfold. Of course different starting conditions or different rules will lead to different patterns in the resulting CA.

In the 1980’s Stephen Wolfram found that each combination of these rules unfolds to create patterns, all of which fall into one of 4 classes, as seen here:

Wolfram argues that there is a direct connection between the mathematical description of CAs to the description of phases in physical systems (such as ice, water, and steam.) In the picture the first two classes fall into uniform states (class I) or fixed and periodic patterns (class II), like ice. The third class of patterns (class III) is chaotic, like liquid water and steam. The fourth class (class IV), resembling ice forming on the surface of water, is the class of interest here. Systems in this class are said to be on the “edge of chaos”, and can form many different types of patterns. In fact, some rule sets can be proved to generate any pattern- this means that class IV exemplifies the full expressive potential of basic arithmetic, computers and, it has been argued, of life itself.
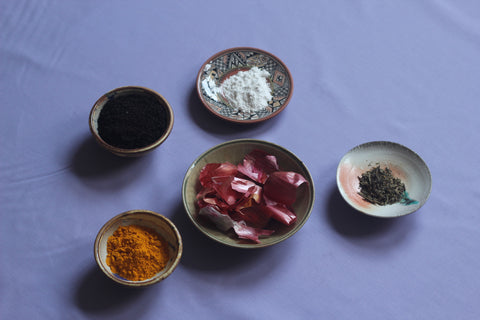
The following figures show these examples with natural dyes. Indigo as a solid, unmixed with water, occurs as a fixed pattern, analogous to ice (classes I and II). When the fabric is in the fully dissolved dye bath, the dye particles are in a chaotic arrangement, like a gas or liquid (class III).
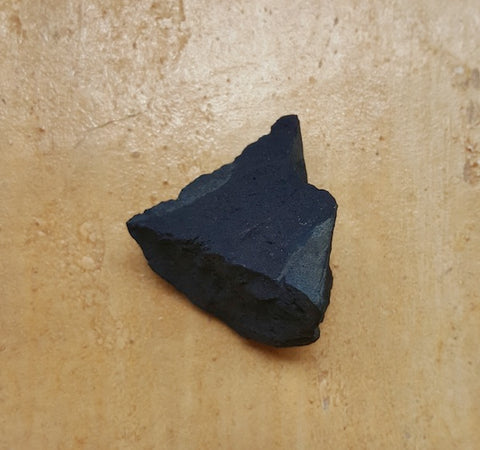
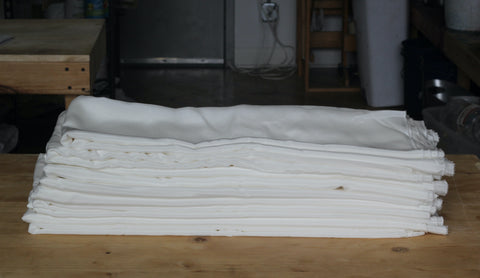
Indigo as a Class I solid
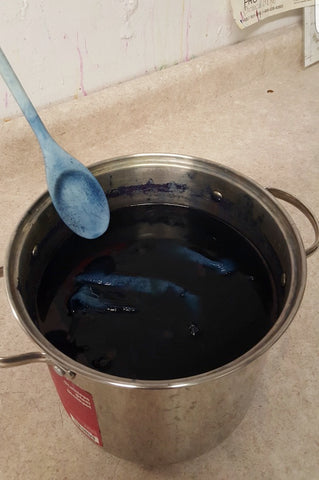
Indigo as Class III liquid
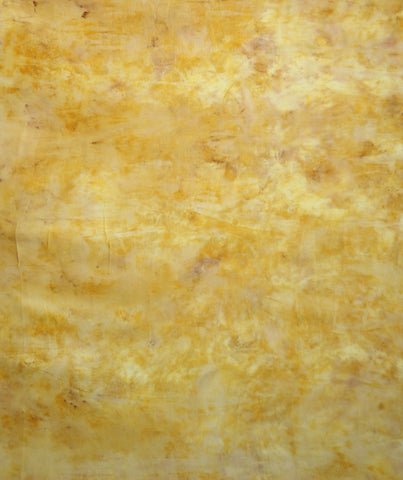
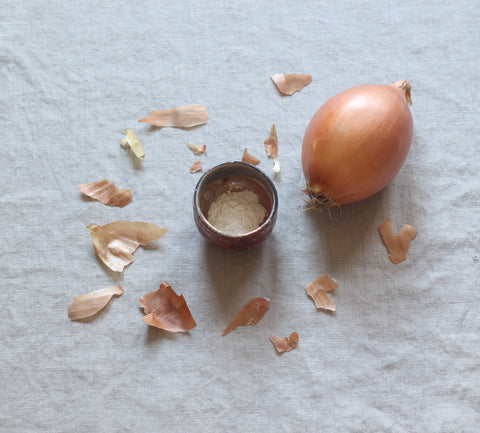
Class IV patterns, at the edge of chaos, are shown in the following figures for indigo and again for a natural pomegranate dye bath. These intermediate stages produce rich and complex patterns that capture the eye of the artist and stimulate their imagination; to the scientist they resemble the type IV CA, and occupy an area someplace between fixed patterns and chaos.

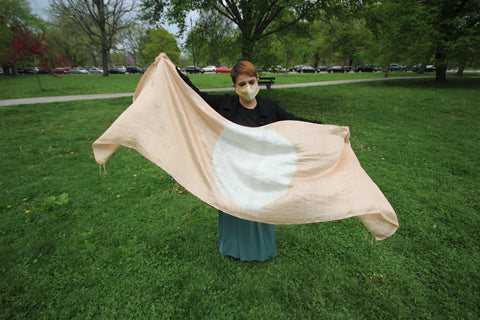
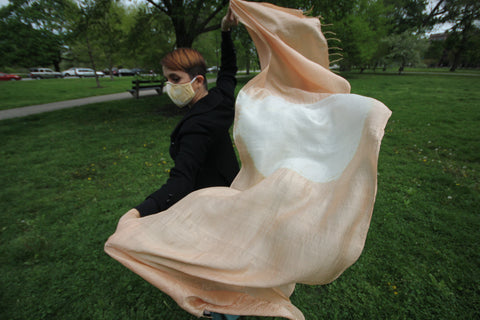
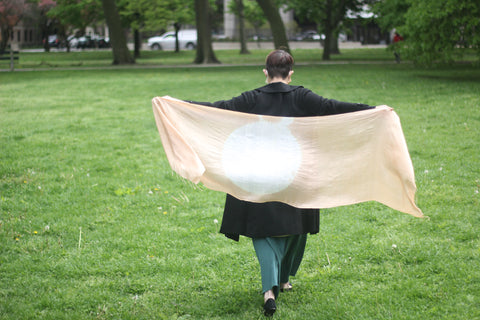
Indigo as a Class IV pattern

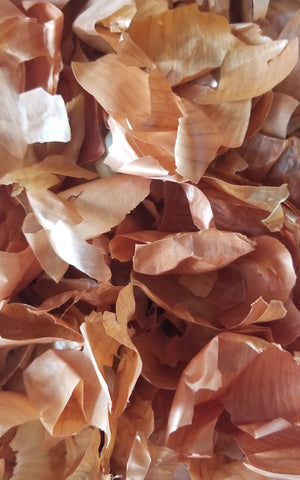
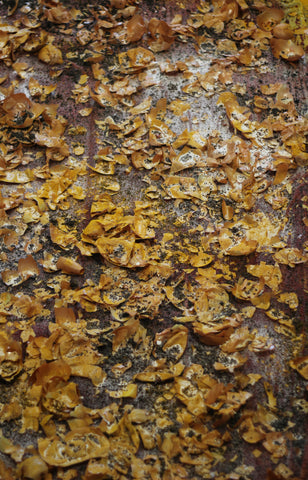
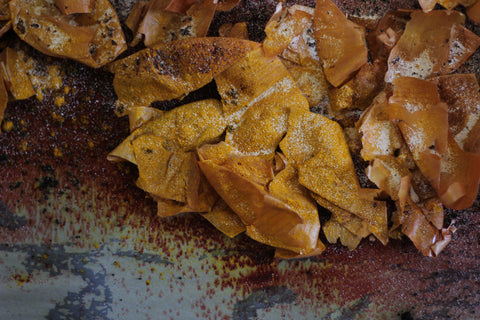
Pomegranate as a Class IV pattern
As textile artists working with natural dyes, we often encounter examples of graded complexity- both with the textile images we produce, and also with the organic nature of the dyes themselves. For example, the dyed surface of the textile might be uniform (Class I) or manipulated in a repetitive fashion (Class II), be “textured” with no apparent regularity (Class III) or with a pattern that is neither uniform nor chaotic and apparently capable of transmitting information (Class IV). Below are examples of produced textiles demonstrating the different classes.

Indigo dyed wool as a Class I pattern

Indigo dyed silk as a Class II pattern

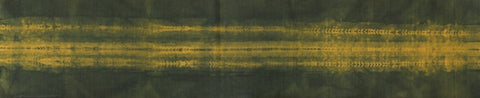
Indigo and safflower dyed linen as a Class III pattern

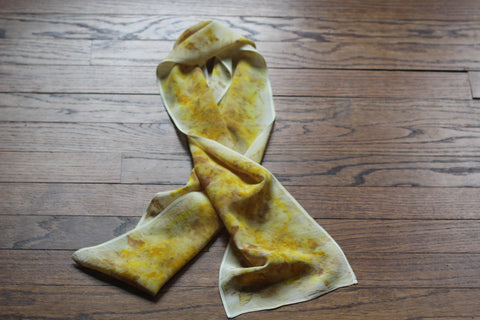
Indigo dyed silk as a Class IV pattern
In our natural dye and textile practices, we can certainly create lovely pieces with uniform colors or exquisite repeating patterns. We suggest that there is also something stimulating, exciting even, when there is a dynamic balance between the two. This balance was apparently evident to the early practitioners of shibori in 1600’s Japan, “with shibori the dyer works in concert with the materials…to allow them full expression. And, an element of the unexpected is always present” (Wada). We can still exploit it today, and perhaps fall in love with it even more by appreciating how it brings together traditional arts, natural dyes, and the rules identified by modern mathematics and science.
Further reading:
Yoshiko I. Wada, Mary K. Rice and Jane Barton. 2011. Shibori: The Inventive Art of Japanese Shaped Resist Dyeing. Kodansha USA.
Arimatsu-Narumi Shibori: Celebrating 400 Years of Japanese Artisan Design. Dir. Andrew Galli. Perf. Hiroshi Murase and Yoshiko Iwamoto Wada. 2008. DVD.
Stephen Wolfram. 2002. A New Kind of Science. Wolfram Media. Champaign IL.
James Crutchfield. 2002. What Lies Between Order and Chaos? In: Art and Complexity, Casti, J. (ed), Oxford University Press. Oxford. Available online at http://tuvalu.santafe.edu/events/workshops/images/9/95/Crutchfield.order.and.chaos.pdf .
Amy Taylor is a textile artist specializing in natural dyes in Chicago, IL. Her work focuses on concepts of femininity, social mores, and transience in contemporary urban environments, placing an emphasis on technical and material detail. For more information on Amy’s work, please visit her website http://www.msamytaylor.com
Charles Taylor is a professor of Ecology and Evolutionary Biology at the University of Calfornia, Los Angeles. His current works focuses on understanding the grammar and meaning of bird songs. Exploring the larger meaning of this has led him to cooperate with artists Amy Taylor and Victoria Vesna (UCLA). More about this recent work can be found at http://www.birdsongdiamond.com/